Can You Recharge a Window Air Conditioner? What to Know
If your window AC is running but barely cooling, you may be wondering, can you recharge a window air conditioner to fix it. It’s tempting to think low refrigerant is the simple answer—especially when the air feels warm. But cooling failure can come from airflow problems, sensor issues, or electrical faults, and “topping up” refrigerant without fixing the root cause can waste money. Here’s what to know before you touch anything.
For more help, see our Window Air Conditioner Not Working: Diagnose Every Common Cause guide.
How Window Air Conditioners Actually Work
Why most window units are sealed systems
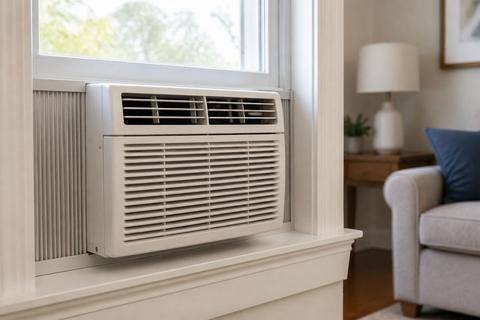
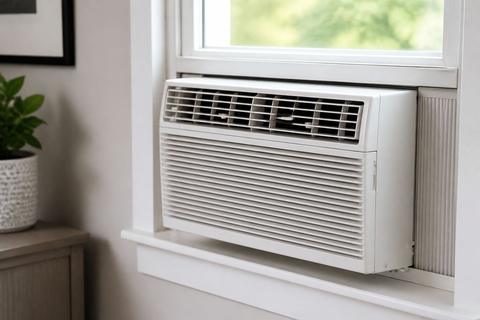
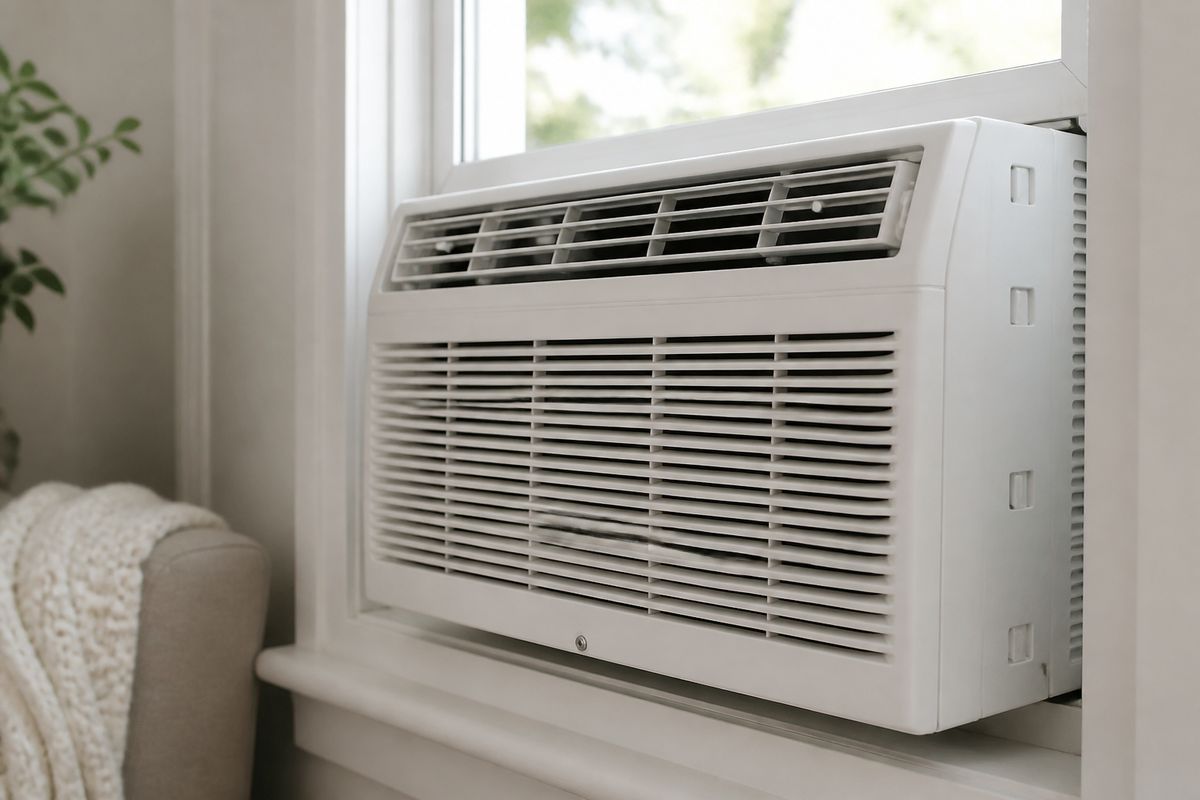
Most window air conditioners are built as sealed refrigerant systems. That means the refrigerant charge is installed at the factory, and the unit is engineered so refrigerant does not need routine DIY “recharging” access. The AC’s job is to move heat: the evaporator coil absorbs heat from indoor air, the compressor raises refrigerant pressure to release heat outdoors, and the condenser coil finishes rejecting that heat. When the system is sealed and properly charged, pressures and temperatures stay within a tight operating range.
What a refrigerant leak means for cooling performance
A refrigerant leak disrupts the balance of the entire cooling cycle. With too little refrigerant, the evaporator coil runs improperly—often becoming too cold (ice) or failing to absorb heat effectively. Many owners notice weak cooling before they ever see ice, especially on humid days where coil performance is critical. Low refrigerant can also make the compressor work harder, raising stress on electrical components and shortening the unit’s life. If you suspect a leak, the correct fix is leak repair plus proper recharge—recharging alone is not a durable solution.
Signs the problem is refrigerant versus airflow or electrical
Use symptom patterns to separate “cooling” issues from “not getting air” or “not running” issues. Refrigerant-related symptoms commonly include ice buildup on the front grille/coil area, a long run time with poor temperature drop, and fluctuating performance after short cycles. Airflow problems show up as dirty filters, restricted intake/exhaust, strong fan but weak air movement through the room side, and uneven cooling across the room. Electrical or control problems often present as the unit not starting, restarting repeatedly, fan running with no compressor engagement, or display error codes that point to sensors or protection modes.
Can You Recharge a Window Air Conditioner?
When recharge is possible in theory
In theory, if a window unit has low refrigerant due to a known, repaired leak—or if the system was accidentally undercharged—then refrigerant recovery, leak correction, and a verified recharge can restore proper operation. This is not a “quick top-up” job because proper charge depends on the exact refrigerant type, unit model, and operating temperatures/pressures. Some sealed-system designs still allow service access through factory valves, but the process requires the right equipment and procedures to measure what’s missing rather than guessing. The result is that cooling performance returns only when the system is sealed again and the charge is correct.
Why many window units are not designed for easy recharging
Many window ACs are engineered as sealed systems with limited user access and no reliable method for safely adding refrigerant without specialized tools. Even if a technician can access service ports, the unit still requires accurate charging procedures; adding “a little more” can overcharge the system and make cooling worse. Over time, corrosion and manufacturing constraints can also make service access difficult and increase leak risk. Plus, refrigerant handling is regulated in the U.S. under EPA rules, and improper handling can expose you to safety hazards and environmental violations.
When replacement is safer than repair
Replacement is safer when the unit has an advanced failure beyond a refrigerant top-up. Choose replacement if the compressor is failing, the evaporator/condensing coil is badly corroded, repairs require major component replacement, or the unit is old enough to use an obsolete refrigerant. Replacement is also often the better value when the expected labor plus leak repair plus recharge approaches a large fraction of the cost of a new unit. If you see repeated failures, persistent leaks, or multiple component issues, a new system prevents you from paying again for the same underlying problem.
How to Tell What’s Really Wrong First
Check the filters, coils, and airflow path
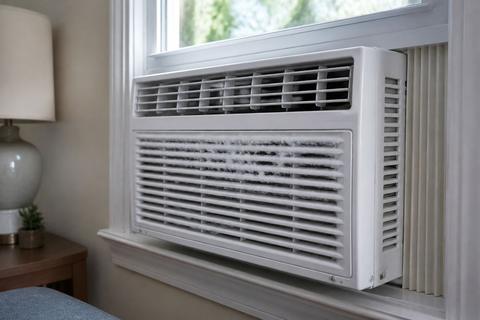
Start with airflow because it’s the most common reason window ACs stop cooling even when the fan runs. Slide out the washable mesh filter from the front grille and rinse it with warm water until debris clears, then dry it completely before reinstalling. Inspect intake and discharge areas: keep curtains, furniture, and weeds or shrubs from blocking the outside condenser exhaust. If you see heavy dust on the front coil surface, gently clean it according to the unit’s guidance and avoid bending fins. If airflow is restricted, the unit can freeze up and mimic low-refrigerant behavior.
- Turn the unit off, unplug it, and pull the front filter.
- Rinse filter until clear, dry fully, and reinstall.
- Check indoor intake and outdoor exhaust are unobstructed.
- Look for a dirty front coil and carefully clean if permitted by the manual.
Test the thermostat, compressor, and fan operation
Distinguish “fan works but no cooling” from “unit doesn’t run.” Set the thermostat several degrees below room temperature and make sure the mode is set to COOL (not FAN or DRY if you have multiple modes). Many window units enforce a compressor-protection delay of about 3 minutes after power interruption or switching modes—during that time, the fan may run but the compressor won’t start. If the compressor never engages after the delay, the issue is likely control/board-related, a failed compressor start component, or a compressor fault rather than refrigerant alone.
- Set mode to COOL and raise/lower the setpoint 3–5°F below room temperature.
- Turn the unit off, wait 1 minute, then turn back on.
- Watch for compressor engagement after the usual ~3-minute delay.
- If fan runs continuously with no compressor after delay, plan for service.
Look for ice buildup, warm air, or short cycling
Ice and “warm air but fan is on” are major clues. If the coil freezes, run fan-only mode until the ice fully melts, then clean the filter and address airflow restrictions; repeated refreezing points to a dirty coil, operation in cool nights below about 62°F room temperature, or low refrigerant from a leak (sealed systems require technician repair). Short cycling—starting and stopping rapidly—can indicate an airflow restriction, incorrect capacity sizing, sensor problems, or electrical issues triggering protection. Use these symptoms to decide whether to clean first, adjust operation, or request professional diagnosis.
- If you see ice on the front, switch to FAN-only to melt it.
- Wait for ice to fully melt, then clean the filter again.
- Note whether warm air persists with compressor on or short cycles happen.
- If short cycling continues after cleaning and proper airflow, treat it as a component/sensor issue.
What Recharging Involves and Why It’s Risky
Why refrigerant work should be handled by a licensed pro
Charging a window AC is not just adding refrigerant; it requires accurate measurement and proper equipment. A licensed technician uses refrigerant recovery, leak detection tools, and a charging method that matches your unit and refrigerant type (including weighing the charge or using a specified target). They also ensure the system meets safety requirements and that pressure and temperature readings align with the manufacturer’s procedures. If you have a sealed-system leak, DIY adds refrigerant without finding and repairing the escape point, so the problem returns quickly and the compressor keeps getting pushed out of its safe operating range.
Safety, leak detection, and EPA concerns
Refrigerants are regulated, and improper handling can be unsafe for you and harmful to the environment. Technicians check for leaks first, because recharging with an active leak is temporary and increases repeat failure. Leak detection may involve electronic sniffing, UV dye (if applicable), pressure testing, and careful inspection of common failure points around coil solder joints, fittings, and service areas. Safety also matters: high-pressure refrigerant systems can vent and create frostbite risk, and incorrect handling can damage valves, seals, or electronics. In the U.S., EPA rules restrict how refrigerant can be serviced, and venting is illegal.
Costs to weigh before paying for service
Before you pay for “refrigerant service,” compare the likely outcomes. Ask for diagnosis that separates low refrigerant from airflow, electrical, or compressor issues—because “add refrigerant” is not the fix if the compressor or fan motor is failing. Cost can climb when leak repair is required plus labor for recovery and recharge; if your unit is older or the refrigerant type is difficult, the cost may exceed the value of replacement. You should also consider the repair scope: a minor sensor fix plus cleaning is cheaper than major coil work. If the total estimate nears a new unit’s price, replacement becomes the smarter financial choice.
When a Window AC Won’t Fit Your Space
Using a portable AC when you have no window
If you don’t have a usable window opening, a portable AC can be a practical alternative. Portable units use a flexible exhaust hose to vent hot air outdoors, so cooling depends on proper venting and keeping the hose from kinking or being too long for the unit’s design. Placement matters: keep intake airflow unobstructed and avoid pushing the unit against the wall so the internal evaporator fan can move air efficiently. Portable ACs also tend to use more energy than properly installed window units, so match the unit’s BTU rating to your room size for best results.
- Measure your room and choose a BTU rating that fits the space.
- Install the exhaust kit so the hose is as straight and short as possible.
- Keep both intake and exhaust unobstructed for airflow.
- Remove or reduce extra gaps around the vent area to improve performance.
Window units with heat for seasonal flexibility
Some window ACs include a heating mode, letting the same unit handle cooling in summer and supplemental heat in colder seasons. This can be convenient if you want one appliance to cover seasonal changes, especially in a room that needs both temperature control and air circulation. When you use the heat function, follow the manufacturer’s guidance for airflow and thermostat setup, since heating performance can differ from cooling. Also verify your model’s power requirements and whether the heating method is electric resistance or another system, because electrical draw can be higher during heat mode.
- Confirm your unit has a HEAT mode and check available fan speeds.
- Use the thermostat setpoint appropriate for heating (comfort levels, not extremes).
- Keep vents unobstructed on the inside air stream.
- Clean the filter before seasonal switching to maintain efficiency.
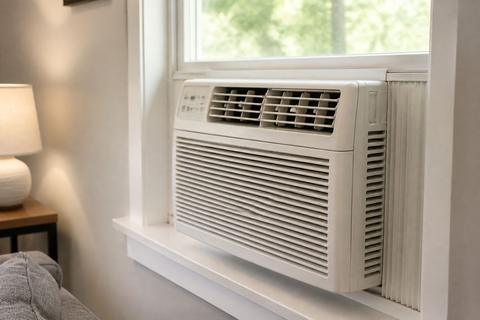
Installation basics and common mounting mistakes
Installation can make or break performance. A correctly installed window unit tilts slightly toward the outside—about 1/4 to 1/2 inch—so condensate drains outdoors. Many units don’t have a drain plug; the fan’s slinger ring splashes water onto the hot condenser coil, which produces normal rhythmic sloshing or a “pssst” sound. If water drips inside, the unit tilt is usually backwards, or the condensate drain path is blocked by a misfit mounting or clogged drain area. Also ensure the unit is sealed to prevent warm outdoor air from leaking into the room.
- Level the unit inside so the outside is slightly lower by about 1/4–1/2 inch.
- Ensure the window sash is secured and the unit is clamped tightly.
- Seal side gaps to reduce hot air infiltration.
- Confirm the outdoor exhaust isn’t blocked and airflow paths are clear.
How To Use a Window AC More Efficiently
Choose the lowest comfortable temperature, not the coldest setting
Setting the thermostat to the coldest number does not automatically cool the room faster; it mostly increases compressor run time and energy use. Aim for the lowest temperature that feels comfortable for you and the actual humidity level. If the room is humid, very low setpoints can worsen moisture issues and lead to coil icing or short cycling when airflow is marginal. Use gradual adjustments—small setpoint changes stabilize the cooling cycle and reduce stress on the compressor and fan. Efficiency improves when the system runs steadily rather than cycling repeatedly.
- Start at a comfortable setpoint and adjust by 1–2°F as needed.
- Use COOL mode, not FAN-only, for temperature control.
- Avoid frequent on/off cycling; allow the unit’s short delay to complete.
- Keep the room insulated from heat sources (lights, cooking, direct sun).
Keep windows closed for proper cooling
A window AC relies on sealing the conditioned space. If you keep windows open, outdoor warm air continually enters and the unit can never reduce room temperature effectively. Closed windows also prevent hot air from interfering with the coil’s ability to reach its target temperatures and maintain dehumidification. If you need ventilation, use the unit’s fan for air circulation or open a different window briefly in a controlled way, but expect reduced efficiency and less consistent comfort. For best results, use weatherstripping and ensure the sash is properly secured around the unit.
- Keep the window(s) closed except for the unit’s installed opening.
- Seal gaps around the unit with the included foam panels or weather seals.
- Prevent cross-drafts from doors and nearby open windows.
- If you must vent, do short intervals and expect longer run times.
Seal gaps and maintain the unit for better performance
Gaps around the window frame let hot air leak in and force the AC to work harder for the same temperature outcome. Use the manufacturer’s side seal kits or foam inserts, and check the unit each season for loosened mounting. Maintenance also directly affects efficiency: clean the filter regularly to protect airflow, and keep outdoor condenser airflow unobstructed. If your unit has a washable filter reminder, address it on schedule; for example, Frigidaire and GE models often show a “Filter” / “Reset Filter” light after about 250 run-hours. Slide out the washable mesh filter, rinse and dry it, reinstall it, then press the Filter Reset button.
- Install or replace side seals to eliminate air leaks.
- Clean the washable filter and reinstall it before peak season.
- Keep outdoor exhaust clear of plants and debris.
- Use the filter reset reminder system to stay on maintenance schedule.
Frequently Asked Questions
Can you recharge a window air conditioner yourself?
You generally should not recharge a window air conditioner yourself. Most window AC refrigerant work should be done by a licensed HVAC professional, and many units are not built for simple DIY recharging. Even if you can access refrigerant, adding without leak detection usually just replaces refrigerant that will leak out again. DIY top-ups also risk overcharging or damaging components if the system’s charge is not measured correctly. If you suspect low refrigerant, the safe approach is professional diagnosis to find and repair the leak, then recharge with the correct refrigerant and charge amount.
How do I know if my window AC needs refrigerant?
Low refrigerant is often mistaken for other issues because reduced cooling can come from poor airflow or failing components. First rule out dirty filters, blocked coils, fan problems, ice buildup, and thermostat issues. Check whether the unit’s fan runs properly and whether cold air is absent even after the compressor protection delay (about 3 minutes) ends. If ice forms on the coil and airflow is otherwise clean and unobstructed, low refrigerant becomes more likely—but it still requires a technician to confirm and repair leaks before recharging.
Can a window AC be recharged if it is leaking?
Only after the leak is found and repaired. Recharging without fixing the leak is usually temporary and can lead to repeated failure. The technician must locate where the refrigerant is escaping, repair that point, then recover and recharge the system to the correct level. If you add refrigerant to a leaking sealed system, you pay for refrigerant repeatedly while the underlying problem continues. That repeated stress can also increase the chance of compressor damage.
Why is my window AC blowing air but not cooling?
Common causes include dirty filters, frozen coils, a failing compressor, restricted airflow, or low refrigerant from a leak. Start by checking the filter and any blocked intake/exhaust areas, then look for ice on the front coil. If the fan runs but the compressor never engages after the normal ~3-minute delay, the problem is more likely electrical/control-related than refrigerant alone. In that case, you’re dealing with compressor start components, control boards, or sensor/protection triggers.
Is it better to repair or replace a window air conditioner?
Repair can make sense if the issue is minor and the unit is fairly new, but replacement is often more cost-effective if the unit is old, uses an obsolete refrigerant, or has a major leak or compressor issue. If the estimated cost of diagnosis plus leak repair plus recharge approaches a large portion of a new unit, replacement usually wins on value and reliability. Also consider how often failures occur—multiple symptoms suggest the system may have reached the end of its practical service life.