Clean Garbage Disposal With Ice and Lemon
If your kitchen smells like yesterday’s leftovers, you’re not alone—garbage disposals trap odor and stuck-on grime fast. Before you reach for harsh cleaners, try the simple approach behind clean garbage disposal with ice and lemon: it lifts food residue and refreshes the smell with minimal mess. It won’t fix every deep sanitation problem, but it’s a fast, effective first step when things feel grimy or “off.”
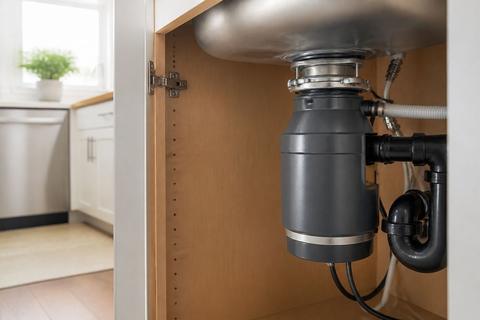
For more help, see our How to Clean and Unclog a GE Garbage Disposal guide.
What actually cleans a garbage disposal
What ice does inside the disposal
Ice helps clean by acting like a scrub tool. As the disposal grinds, ice cubes fracture into sharp edges that knock loose stuck-on food particles and light buildup from the grinding chamber and walls. This mechanical action is why ice works better for texture and residue than for “disinfecting.” Use clean, standard ice cubes—do not use flavored ice or anything treated with additives. Ice is most effective when the disposal is not actively jammed and when you can flush out loosened debris with water right after.
What lemon can and cannot fix
Lemon’s main job is odor control. The citric scent and acidic juice can reduce lingering smell by cutting through food odors and leaving a fresher aroma. What lemon cannot reliably do is disinfect the inside of the disposal the way a true sanitizer would. So if your goal is bacteria-killing sanitation, focus on mechanical cleaning first (water + ice + scrubbing splash components), then consider safe disinfection methods only when appropriate for your unit.
When vinegar helps and when it falls short
Vinegar helps by breaking down some light mineral and odor-causing residues, especially when combined with other cleaning steps. However, it does not replace physically removing debris from the splash guard area and drain opening—the areas that trap waste. If your disposal smells even after a lemon/ice freshen, vinegar alone won’t reach deeper buildup. Use vinegar as a supportive step for odor and light buildup, not as the only cleaning method.
Best way to clean with ice and lemon
Prep the sink and turn off the power if needed
Start with safety and cleanup control. Clear clutter under the sink, remove items that can fall in, and run cold water before you start so loosened debris can flush out. If your disposal won’t safely operate or you suspect a jam, turn off power at the wall switch or breaker before touching anything near the unit. Never reach into the grind chamber—only use tools if you must remove debris. Once you’re set, you’re ready for the ice action that does the heavy lifting.
Use ice to scrub the grind chamber
- Fill the disposal with 1–2 cups of ice cubes (standard cubes are best).
- Turn on the disposal and let it run while cold water flows.
- Let the grinding continue until the ice is fully processed (usually 30–60 seconds).
- Stop the disposal and flush with more cold water for 10–20 seconds to push debris out.
If you hear unusual grinding or the unit stalls, stop immediately—this indicates a jam or stuck debris, and you’ll need to clear it before continuing.
Follow with lemon for odor control
- Cut a lemon into quarters.
- With cold water running, drop one quarter at a time into the disposal chute.
- Turn on the disposal briefly (10–20 seconds per quarter) so the citrus gets ground and circulated.
- Finish with a final run of cold water for 20–30 seconds.
Lemon works best right after ice because loosened residue clears first, then the citrus scent replaces lingering odors.
Run cold water to flush debris
- Keep cold water running at a steady flow for 20–60 seconds after grinding finishes.
- Watch for smooth drainage—water should move freely without backing up.
- If you notice slow draining, continue flushing briefly and avoid adding more food waste until flow improves.
Cold water helps keep fats and grease from smearing inside the unit, and it carries loosened particles out through the drain line.
Where baking soda fits in
Use baking soda to lift light buildup
Baking soda works as a gentle abrasive and deodorizer for light buildup. It’s helpful when the disposal has a mild funk or when residue clings around the splash guard area. Sprinkle a small amount directly into the sink drain, then run cold water to help it move into the unit. Baking soda is not meant to replace the core mechanical cleaning of ice + water; think of it as an extra deodorizing/loosening step for light problems.
Combine baking soda and vinegar carefully
You can combine baking soda and vinegar, but do it carefully because they react and can foam. Use this approach only when the disposal is off and the sink area is clear.
- Add 1/2 cup baking soda to the sink drain.
- Add 1/2 cup vinegar slowly (avoid overpouring to prevent overflow and excessive foam).
- Wait 5–10 minutes.
- Turn on cold water and run the disposal briefly to flush loosened residue.
If the reaction foam rises toward the sink rim, stop and switch to water flushing only.
Know when baking soda is better than lemon
Use baking soda when the main issue is stubborn odor trapped in residue rather than fresh food smell. It also fits well for routine maintenance because it is less about scent and more about deodorizing and loosening light film. Choose lemon first when you want a quick, bright freshness after ice cleaning. Choose baking soda when the smell feels “stale” or when you want a gentler option for frequent use.
How to disinfect a garbage disposal safely
What disinfection can and cannot do
Disinfection can reduce harmful germs, but it depends on reaching the places that trap grime: the splash guard, underside rubber flaps, and the drain opening. If waste is stuck, disinfection products won’t work well because they can’t penetrate heavy residue. Proper cleaning comes first—ice, cold water flushing, and cleaning splash components—then disinfection when appropriate. If you’re seeing repeat odors, focus on physical buildup removal rather than relying on scent or vinegar alone.
Use a food-safe cleaner only when appropriate
Only use a cleaner labeled safe for garbage disposals and food contact areas. Follow the product directions exactly—do not mix multiple chemicals, and never combine cleaners with bleach or other harsh agents unless the label explicitly permits it. If you’re using a disinfection product, run cold water before and after as instructed to move the cleaner through the unit and flush residues away. If your disposal is damaged or frequently jammed, stop and fix the mechanical cause before sanitizing.
Clean the splash guard and drain opening
To disinfect effectively, remove trapped debris around the splash guard and drain opening.
- Turn off power at the wall switch or breaker.
- Use a flashlight to inspect the splash guard area visible at the drain.
- Scrape residue with a small brush (long-handled scrub brush or old toothbrush).
- Wipe the splash guard and drain opening with damp paper towels, removing all food bits.
This mechanical step removes the barrier that keeps odors and germs protected inside the unit.
Smells, clogs, and warning signs
Why bad odors keep coming back
Bad odors return when food residue remains on the splash guard, rubber flaps, or hidden crevices where water doesn’t fully flush. If you only use lemon without clearing debris, the smell often comes right back because the source stays behind. Also check what’s going into the disposal: grease, starchy foods, and fibrous scraps create buildup that traps odors. The fix is mechanical removal—ice to knock loose grime, then water flushing, and a brush clean of the splash guard when needed.
How to handle slow draining or grinding problems
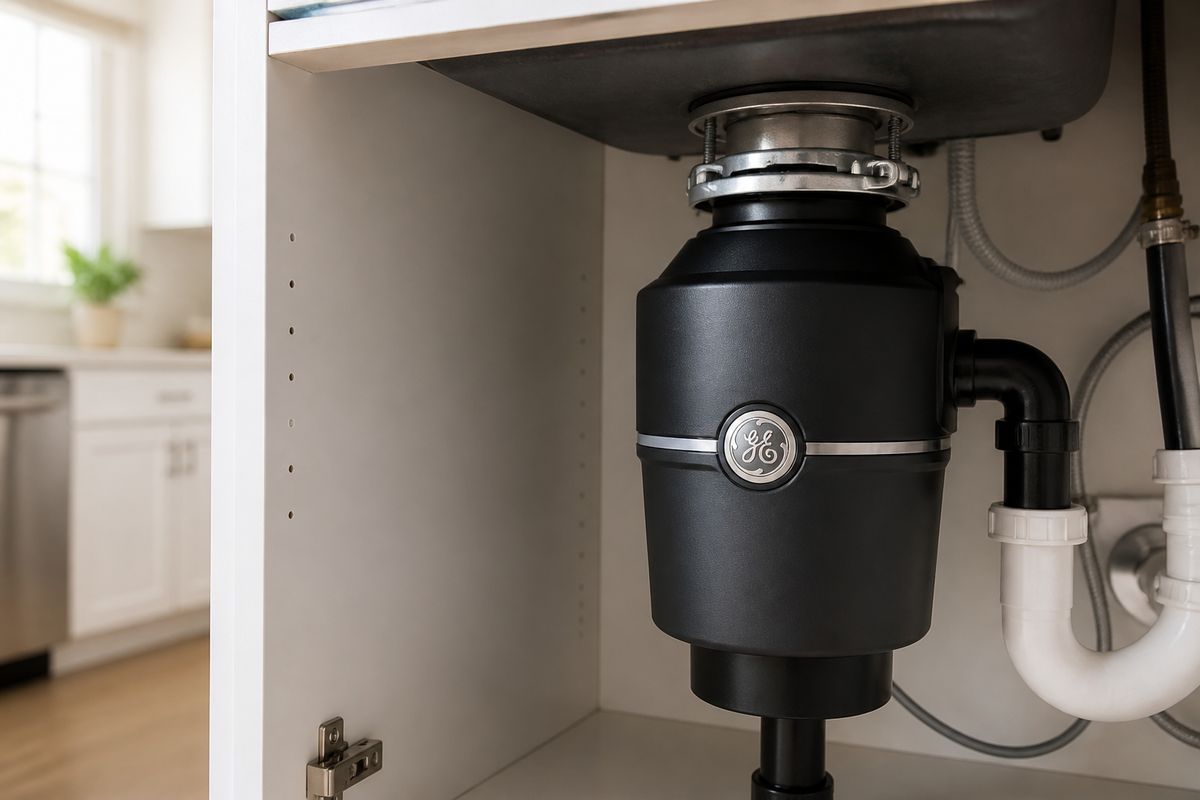
Slow draining usually means debris is restricting flow. Start with water flushing: run cold water for 30–60 seconds and see if drainage improves. If it’s still slow, check for food buildup you can remove from the sink drain opening area with tongs (never hands). If the disposal hums but won’t grind, it may be jammed: for a GE continuous-feed unit, first cut power, then insert a 1/4-inch hex (Allen) wrench into the hex socket on the underside and rotate a full turn to free the impeller. Then press the red overload reset button on the bottom until it clicks and try again.
When the disposal needs a reset or repair
Reset is for overload protection, not mechanical damage. On a GE unit, press the red overload reset button on the bottom of the motor housing until it clicks. If the disposal is silent when switched on, let it cool for a few minutes, clear a jam if you find debris with safe tools, then press reset again. For model identification: GE continuous-feed models start with GFC (like GFC520N, GFC1020N) and batch-feed models start with GFB (like GFB760N). A batch-feed GFB will only run when the stopper cap is inserted and twisted. Persistent leakage or repeated failure indicates repair or replacement.
Cleaning mistakes to avoid
Never use harsh chemicals or boiling water
Harsh chemicals can damage internal parts, create toxic fumes, or react unpredictably with residue and other cleaners. Boiling water can warp components and splatter greasy buildup deeper into the unit. Stick to cold water for flushing and use cleaners labeled safe for garbage disposals if you’re sanitizing. If you’re treating odors, choose mechanical cleaning first—ice + water—then add lemon or baking soda for odor control rather than escalating to aggressive chemicals.
Don’t overload the disposal with citrus peels
Citrus peels can help with freshening, but large amounts can increase clog risk by leaving fibrous residue in the splash area. Use lemon in small portions—one quarter at a time—while cold water runs. Keep expectations realistic: lemon improves smell, it doesn’t magically dissolve built-up food mass. If the unit is already struggling with flow, skip citrus and focus on flushing and removing visible debris around the drain opening and splash guard first.
Avoid using ice if the unit is already jammed
Ice is for cleaning when the disposal can grind normally. If the unit is jammed—often indicated by humming without grinding or a complete lock—the ice won’t help and can worsen the situation. Turn off power, clear the jam using the correct method for your disposal, and then reset if needed. For GE disposals, if it hums but doesn’t spin, use a 1/4-inch hex (Allen) wrench in the underside hex socket to rotate the impeller plate, then press the red overload reset button until it clicks.
Frequently Asked Questions
Does ice really clean a garbage disposal?
Yes. Ice can help knock loose stuck-on grime and some food residue from the grinding chamber, but it is best for light cleaning rather than deep sanitation.
Is lemon enough to disinfect a garbage disposal?
No. Lemon can reduce odors and leave a fresher smell, but it does not reliably disinfect. Use proper cleaning methods if sanitizing is the goal.
Can I use baking soda and vinegar in the disposal?
You can, but it is mainly useful for odor and light buildup. It is not a substitute for mechanical cleaning with water, ice, and a brush for the splash guard.
How often should I clean a garbage disposal?
A light cleaning once a week and a deeper freshening as needed usually works well, especially if the disposal is used often.
What should I do if the disposal still smells after cleaning?
Check the splash guard, drain opening, and underside of the rubber flaps for trapped debris. If odors persist, there may be buildup deeper in the unit or plumbing.