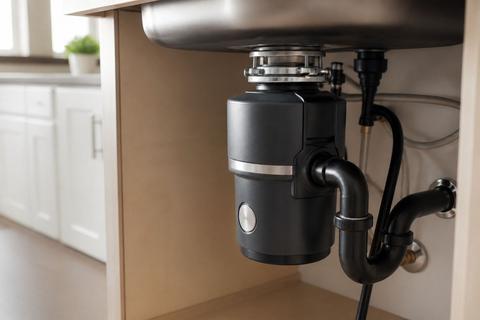
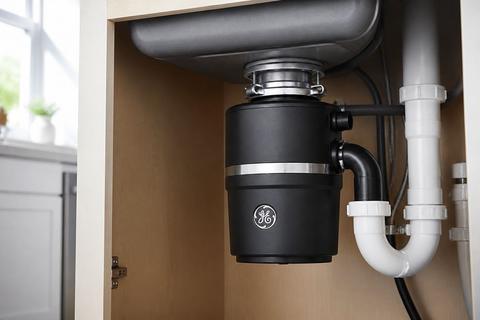
GE Garbage Disposal Installation: Removal, Wiring, and Setup
If your GE garbage disposal isn’t draining, is leaking, or has stopped working, the real challenge is figuring out what to do first—removal, wiring, or plumbing. The phrase GE Garbage Disposal Installation: Removal, Wiring, and Setup matters because the order affects safety and whether the unit actually works after you connect everything under the sink.
How to Install a Garbage Disposal Step by Step
If you’re installing a new GE disposal from scratch, the workflow matters more than any single task. This overview tells you what tools and checkpoints come first, so you don’t get stuck mid-install. For the complete start-to-finish sequence, use the linked step-by-step child article.
Before you begin, shut off power at the breaker and remove the old disposal or disconnect the electrical and plumbing lines as your project requires. Gather essentials like a flashlight, adjustable wrench, bucket/towels, plumber’s putty (or the provided gasket), and the disposal mounting hardware from your model. Pay special attention to alignment of the mounting ring and discharge tube seating—most leak callbacks come from a mis-seated flange or loose connections.
- Turn off the disposal circuit at the breaker.
- Clear the under-sink area and set a bucket/towels for water in the drain lines.
- Confirm your model feed type (continuous-feed vs batch) and matching controls before wiring.
- Follow the complete installation sequence in the linked child article to ensure mounting, electrical setup, and plumbing connections happen in the correct order.
Full Guide: How to Install a Garbage Disposal Step by Step
How to Remove and Replace a GE Garbage Disposal
Removal and replacement are separate from a first-time install because you must disconnect the existing unit safely, manage old fittings, and prep the drain and wiring for the new disposal. Plan for space, water, and potentially corroded connections. Use the dedicated removal/replacement child article for the exact order and the reinstallation prep steps.
A GE disposal may fail due to jams or power issues, but if you’re replacing the unit, you must treat wiring and plumbing as “live hazards” until power is shut off at the breaker. Also note that different discharge tube lengths and mounting ring types can affect whether the new disposal mates correctly with the existing sink flange.
- Shut off power at the breaker that feeds the disposal.
- Unplug/disconnect the disposal wiring method used by your setup (hardwired vs plug-in).
- Disconnect the dishwasher discharge if present, then separate the disposal discharge tube and sink drain connection.
- Remove the disposal mounting hardware and lower the unit carefully into a bucket or towel-protected area.
- Follow the linked child article for replacement prep, mounting ring seating, and reinstallation order.
Full Guide: How to Remove and Replace a GE Garbage Disposal
Remove a Garbage Disposal Drain Plug (Dishwasher Knockout)
The dishwasher knockout is only removed when your dishwasher drain connects to the disposal. If you remove it unnecessarily, you can create an opening that won’t be properly sealed and may lead to leaks or odor issues. Use the child article for the knockout removal process itself; this overview explains when it applies and why the timing matters before plumbing is attached.
On many GE installations, the dishwasher inlet uses a knock-out plug inside the dishwasher inlet nipple. If you’re connecting a dishwasher to the disposal, remove that plug before you reinstall the disposal so the dishwasher hose has a clear path into the grind chamber.
- Locate the dishwasher inlet nipple on the disposal housing.
- If your dishwasher drain hose will connect there, remove the knockout plug.
- If your dishwasher will connect elsewhere (not to the disposal), leave the knockout in place.
- Proceed to dishwasher hose routing only after the knockout has been removed so the connection doesn’t block or back up.
Full Guide: Remove a Garbage Disposal Drain Plug (Dishwasher Knockout)
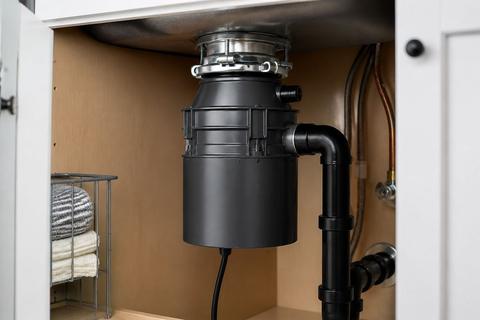
How to Hardwire a Garbage Disposal: Wiring Basics
Hardwiring means connecting the disposal directly to a dedicated circuit in the home wiring box, instead of using a plug. Choose hardwiring when your under-sink power setup includes the proper junction connection method and your specific GE model is rated/compatible with hardwired installation. Use the linked child article for the model-accurate wiring steps and safety details.
Before touching any wires, confirm power is off at the breaker. Then identify the disposal’s electrical leads and match them to the incoming supply conductors using proper connectors. For GE models, the most common under-sink wiring scenario is a dedicated feed that you connect to the disposal’s power leads inside the electrical connection area.
- Turn off the breaker feeding the disposal circuit.
- Verify the disposal electrical connection type on your specific GE model (hardwire capability and required components).
- Identify incoming hot (black), neutral (white), and ground (green/bare) conductors in the junction area.
- Connect matching leads using the correct wire connectors specified by the disposal instructions.
- Use the linked child article to complete strain relief and final connection procedure for your model.
Full Guide: How to Hardwire a Garbage Disposal: Wiring Basics
Convert a Hardwired Garbage Disposal to a Plug
Converting from hardwired to plug-in changes how the disposal gets power and can make servicing easier, especially in tight under-sink spaces. People also convert when they install a different under-sink configuration that includes an outlet. Before changing anything, you must confirm compatibility with your specific GE model, your local electrical code requirements, and whether the unit supports conversion using the correct parts.
Safety comes first: the breaker must stay off while you change the power connection method. This conversion also requires a proper outlet installation (GFCI protection may be required depending on jurisdiction and setup), and the disposal cord must route without strain.
- Confirm your GE disposal model supports conversion (use the model’s instructions and compatible conversion kit, not “generic parts”).
- Turn off the breaker and disconnect the hardwired connections.
- Install the correct plug and cord assembly specified for your model.
- Connect the disposal to a properly installed outlet that meets code requirements.
- Use the linked child article for the exact conversion steps and compatibility checks before you reconnect power.
Full Guide: Convert a Hardwired Garbage Disposal to a Plug
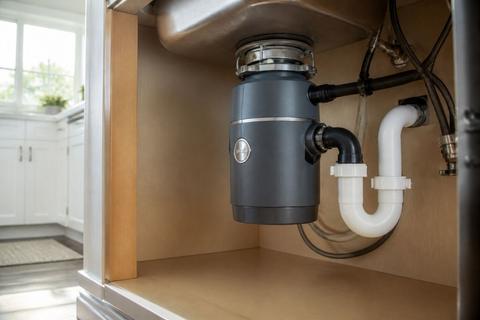
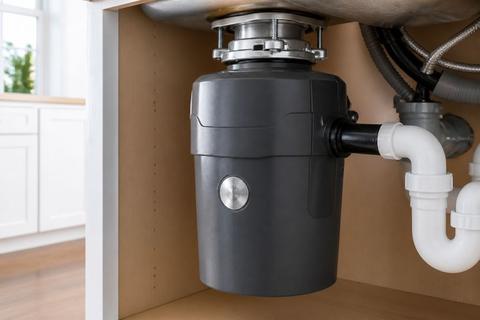
Connect a Garbage Disposal to Sink Plumbing
Connecting a GE disposal to the sink plumbing is about getting the drain path aligned and leak-free from the sink flange through the disposal discharge. The biggest failures in this stage come from misalignment at the mounting flange, improper seal seating, and discharge tube connections that aren’t fully seated.
Your disposal typically connects to the sink drain through the mounting assembly under the sink flange, then routes discharge through the side outlet into the tailpiece/drain pipe. For best results, keep the discharge tube and slip joints straight—forcing them twists gaskets and creates leaks.
- Seat the mounting ring/flange assembly so the disposal sits level and fully engaged.
- Connect the discharge tube to the disposal outlet and lock/seal it according to the disposal’s outlet design.
- Connect the discharge tube to the sink drain pipe/tailpiece using slip joint nuts and the correct gaskets.
- Use plumber’s putty or the provided seal system only as your model instructions specify for the sink flange interface.
- Address leaks immediately by reseating the connection: sink flange leaks mean the mounting seal or ring is loose; side/discharge leaks mean the discharge connection or gasket isn’t seated.
Full Guide: Connect a Garbage Disposal to Sink Plumbing
Connect a Dishwasher Drain to a Garbage Disposal
A dishwasher drain connection is required only when your dishwasher is designed to drain into the disposal rather than directly into the drain line. This connection uses the dishwasher inlet on the GE disposal and a dedicated hose connection so wastewater flows into the grind chamber without backing up into the sink.
A key step: if you’re installing a new or replacement GE disposal, the plastic knockout plug inside the dishwasher inlet nipple must be punched out with a screwdriver and removed from the grind chamber first, or the dishwasher will not drain and backs up into the sink.
- Confirm the dishwasher drain will tie into the disposal inlet (not a separate standpipe path).
- Remove the dishwasher knockout plug from the disposal inlet nipple before installing the plumbing connection.
- Attach the dishwasher drain hose to the disposal inlet using the required clamp/coupling.
- Route the hose with the correct slope and avoid kinks or dips that trap water.
- Ensure the dishwasher hose connection is tight at both ends to prevent drips and backup.
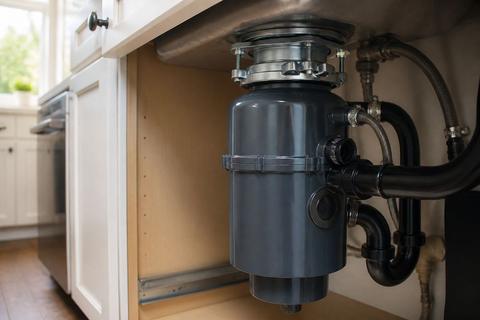
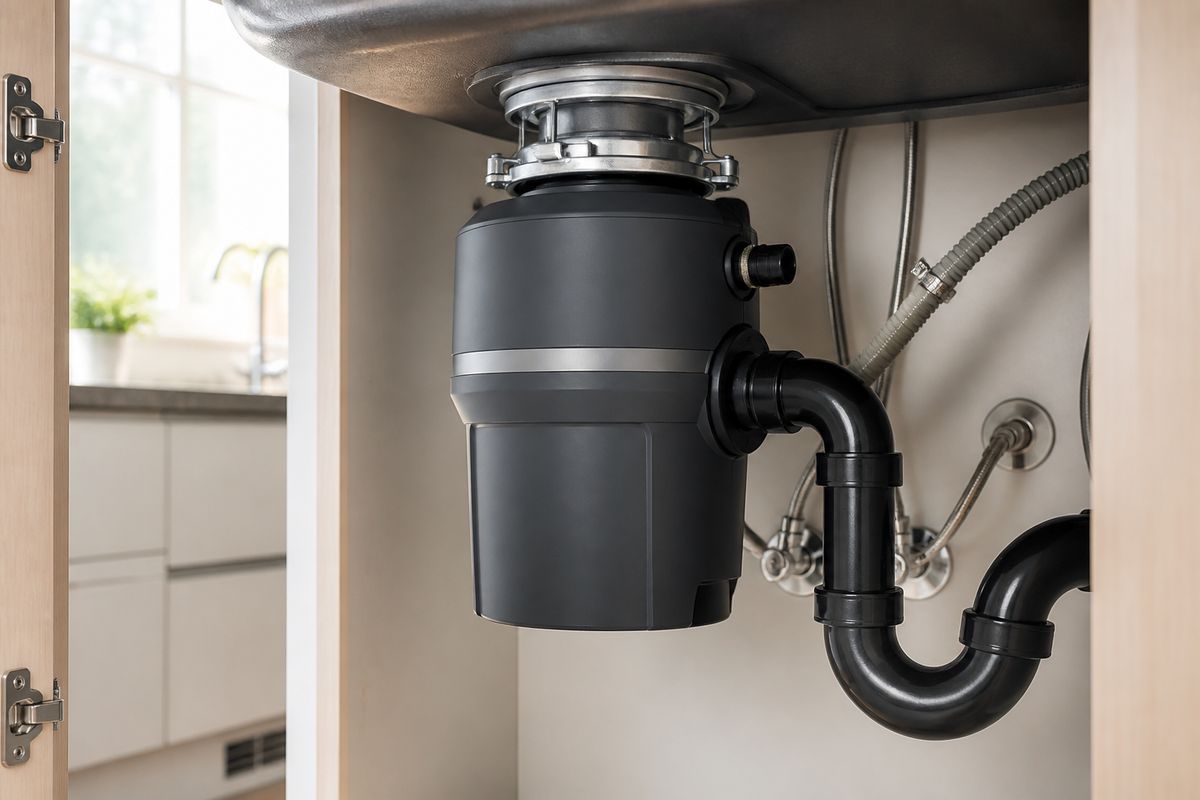
Install a Garbage Disposal on a Double Sink
A double-sink setup changes how you plan the under-sink drain connections and routing space. You must account for two basins feeding into one disposal outlet, which affects whether you use a single disposal with a splitter/adapter or a two-drain configuration depending on your sink and cabinet layout.
In most double-sink installations, the disposal sits under one of the basins and the other basin ties into the same drain system using the appropriate Y-connection/sink drain components. The practical challenge is physical clearance: tailpieces, connections, and disposal mounting must fit without forcing the lines.
- Choose the basin you’ll run directly to the disposal inlet/discharge path based on cabinet space.
- Plan drain routing so both basins flow into the same disposal/discharge line using the correct adapters for your model and sink.
- Confirm you have enough clearance for the disposal height and for tightening discharge and sink drain fittings.
- Ensure the disposal mounting ring aligns cleanly with the sink flange so you don’t create stress leaks under either basin.
- Use the linked child article for the full double-sink setup approach so the drain lines and clearances are handled correctly for your layout.
Frequently Asked Questions
Do I need to turn off power before installing a GE garbage disposal?
Yes. Shut off power at the breaker before any removal, wiring, or installation work begins. Do not rely on the wall switch to cut power, because you could still be working near live conductors inside the disposal connection area. Once power is off, keep the breaker turned off through wiring and plumbing steps until the disposal is mounted and all electrical connections are complete.
Can every GE garbage disposal be hardwired?
Not always. Compatibility depends on the model, local code, and the under-sink power setup. Some GE disposals are designed for plug-in use, while others support hardwiring. Before you convert or wire anything, match your disposal’s electrical instructions to your circuit type and confirm the correct cord kit or hardwire connection method for that exact model.
When should I remove the dishwasher knockout?
Only remove it if a dishwasher drain will connect to the disposal. The dishwasher knockout (dishwasher knockout plug) is inside the dishwasher inlet nipple. If you remove it but don’t connect a dishwasher to that inlet, you can create an unnecessary opening that leads to leaks or odors.
Can a garbage disposal be installed on a double sink?
Yes, many can, but the drain layout and available space need to be planned carefully. Double-sink setups require routing both basin drains into the disposal system using the correct drain components and adapters. Before installing, check that the disposal height and discharge/tailpiece connections fit under the cabinet without forcing fittings out of alignment.